
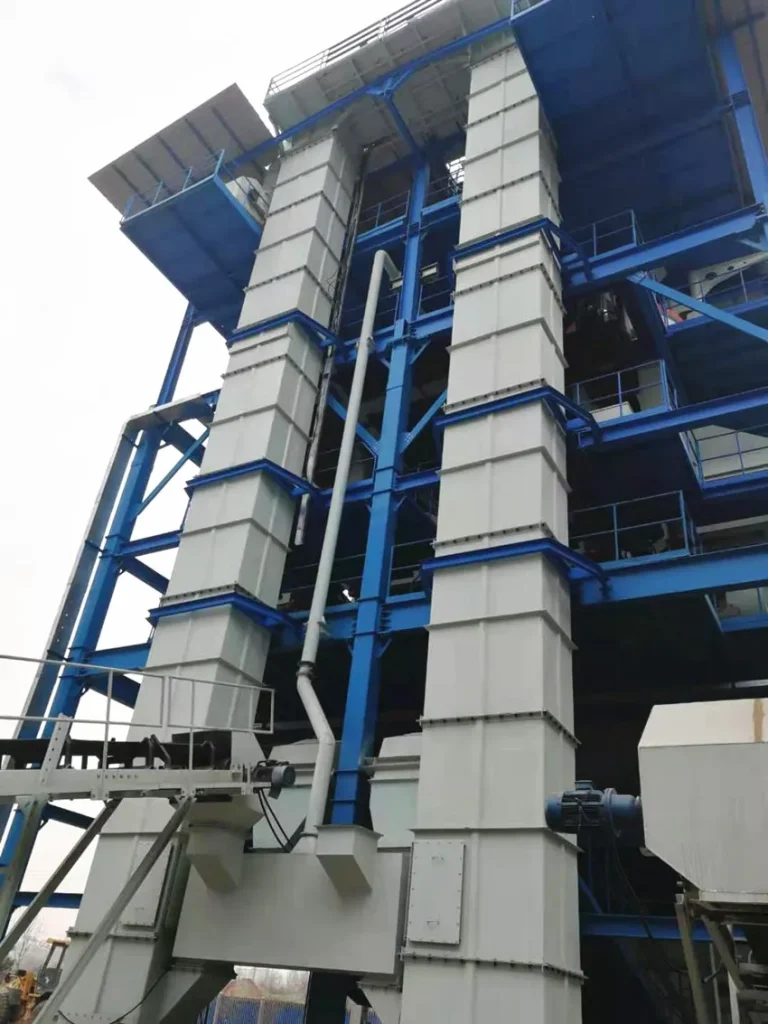
Many bucket elevator users experience problems such as unstable operation, chain deviation, and reduced lifespan during operation, which are often directly related to improper installation. A correct installation process not only ensures stable equipment operation but also reduces maintenance costs. As a bucket elevator manufacturer, we have summarized the following standardized installation steps to help you complete equipment commissioning successfully in one go!
I. Specific Steps for Bucket Elevator Installation
Lower Section Installation: A Solid Foundation is Key
Base Fixation: Place the lower section of the bucket elevator on the pre-cast foundation base. The base must have pre-drilled anchor bolt holes or embedded steel plates.
Leveling: Adjust the levelness of the lower section’s top flange using anchor bolts (error ≤ 1mm/m) to ensure overall stability.
Middle Casing Installation: Verticality Determines Smooth Operation
Sectional Assembly: Assemble the casing in groups of 2 to 4 sections. Check the verticality and twist for each group before proceeding. Repeat this process until all middle casing sections are installed. After complete assembly, recheck the overall verticality and twist.
Anti-Twist Treatment: Apply sealant at flange connections. Tighten bolts symmetrically to avoid casing deformation.
Reinforcement Measures: After full installation, secure the middle casing with explosion-proof clamps (hose clamps) to prevent displacement.
Upper Section Installation
After the middle casing is installed and inspected as qualified, install the upper section. Once the upper section is fixed, place a level gauge on the main shaft to check its levelness. Install the chain and buckets only after the shaft levelness is confirmed acceptable.
Chain and Bucket Installation: Dynamic Balance Testing
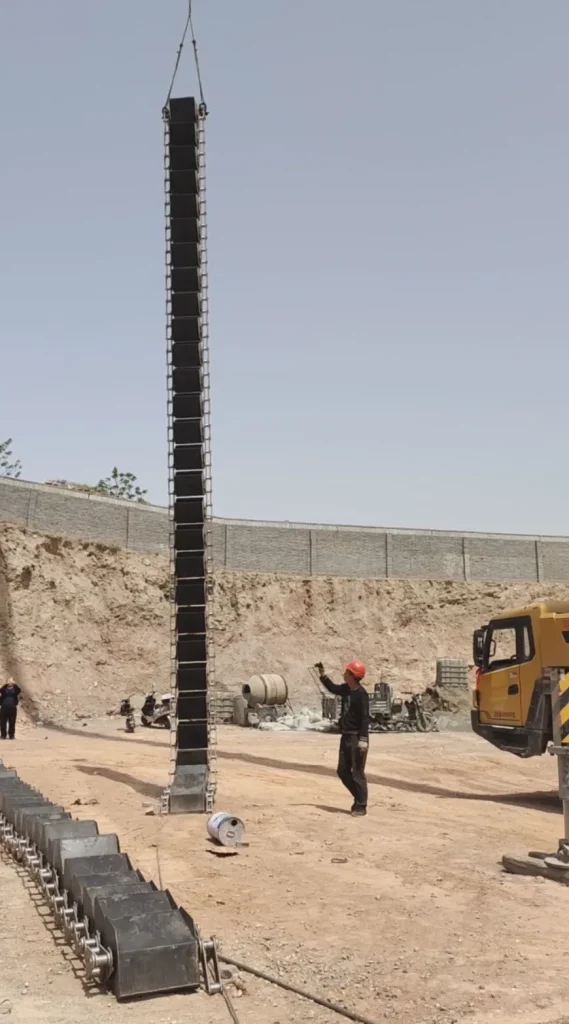
Chain Suspension: Install both side chains first, ensuring equal length (tension difference ≤ 5mm).
Bucket Fixation: Install buckets at the designed spacing. Bolts must be fitted with lock washers to prevent loosening and detachment due to material impact.
No-load and Load Commissioning: From Testing to Production
Jog Testing: Perform short bursts of power after energizing. Observe for chain deviation. Run 2-3 revolutions in both forward and reverse directions.
No-load Running: Operate continuously for 4 hours. Monitor bearing temperature rise (≤ 70°C) and abnormal noises.
Gradual Loading: Increase load progressively from 30% capacity to full load. Check conveying efficiency and motor current stability.
II. Precautions for Bucket Elevator Installation
Safety First: Use safety harnesses for work at heights. Avoid casing deformation during hoisting.
Precision Control: Deviations in levelness and verticality are primary factors affecting lifespan. Repeated verification is essential.
Lubrication Preparation: Lubricate bearings and chains with the specified oil/grease before commissioning.
Conclusion
Correct installation is the prerequisite for the stable operation of a bucket elevator. Whether installing it yourself or commissioning a professional team, strictly following the above steps can significantly reduce failure rates.